This free video recording software can be used for creating screencasts for record presentations, video tutorials, etc. Companies and individuals use screen recorders for different reasons. Whether it is about creating a presentation for a seminar or creating a tutorial video, a screen recording software can be of great help. But, it is essential that you select a screen recorder which is user-friendly and at the same time can create professional presentations compatible with your business requirements. A screen recorder, whether used for commercial or entertainment purpose, should be easy to learn and quick in delivering results.
- Finally, if you’re looking for more flexibility, customizability, and control over your GitLab instance, a self-hosted solution is likely the best option for you.
- The biggest positive of using this screen recorder is how easy the operation can be, particularly for a newbie.
- You can even stitch multiple Looms together into one super Loom.
- FTP will allow you to connect to your server and browse your files through a tool like FileZilla.
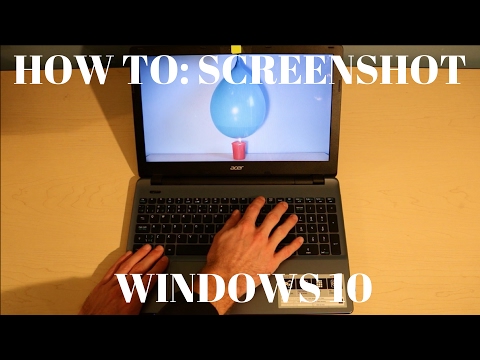
This button (which is also labeled “PrtSc” or “Print Scr” on some keyboards) is located on the top row on most keyboards. More specifically, it is usually located just after the “F12” key. Typing away like a keyboard super hero, he covers just about anything you can think of. If Toby isn’t writing, he’s probably reading a book or playing video games. The Windows shortcut for screenshots is Windows+Shift+S or Windows+PrtScn or Windows+G or the PrtScn key alone. You need to press Windows+Shift+S at the same time and not one after the other.
Windows + G
To take a screenshot of your game, press Windows + Alt + PrtScn at the same time, and a screenshot will be saved automatically in the screenshots folder in your Video library. The shortcut Ctrl + Print Screensaves a copy of your screen on the clipboard. You can view the saved screenshot in ‘Paint’ or any other image editor after you paste it from the clipboard. In macOS Mojave or later devices, you can adjust the default location of saved screenshots by going to the Options menu in the Screenshots app.
Select the drop-down arrow adjacent to the snipping mode and select ‘Window Snip’. A mouse pointer with a hand symbol Take Screenshot on Windows will appear and all you need to do is to point to the menu you wish to capture. Full-screen snip – This mode makes a capture of the entire screen .
The complete guide on how to capture screen images
Screen recording makes tutorials and how-to guides easier to comprehend as visuals are easier to understand than words. They also benefit those who want to record their screen actions for future use. Aside from the Game Bar, another tool resides within MS Powerpoint to capture screen recordings. It’s a helpful tool to embed your recordings in your slides straightaway, but you can also use it to record your screen actions from any other app and even your desktop.
Viewing, editing, and saving screenshots
To do that, hit the Screen recording icon on the sidebar and select the area you will be recording. Click the REC button to start recording your computer screen. In the window that pops up when you stop recording, you’ll be able to perform basic editing tasks on the recorded video, such as trimming segments out of the final product.